The Ultimate Guide to Safely Removing Lash Extensions
Getting lash extensions can be exciting, but eventually, it’s time to remove them. Whether they’ve outgrown their welcome or you’re simply ready for a change, knowing how to remove lash extensions safely is crucial. This guide will walk you through the step-by-step process, ensuring your natural lashes stay healthy and intact.
Why You Need to Remove Lash Extensions
Lash extensions are beautiful, but they’re not meant to last forever. Keeping them on too long can damage your real lashes. They might start to clump or create tension that leads to breakage. Plus, your natural lashes deserve a break! So, let’s get started on removing them properly.
Gather Your Supplies
Before you jump in, make sure you have everything you need. Here’s a checklist:
- Lash Remover: This is specially made for safe removal. Avoid using oil or other harsh products.
- Cotton Pads: You’ll need these to apply the remover.
- Q-tips: Handy for any precision work.
- Towels: Protect your workspace with a towel.
- Mirror: A good view of your lashes helps a lot.
Having everything ready saves time and hassle.
Start with a Clean Slate
The first step is to clean your eyes. Use a gentle, oil-free cleanser to wash your eyelids. This helps remove makeup and oils that could interfere with the remover. Make sure you’re all set for the next steps by drying your face with a towel gently.
Apply the Lash Remover
Take a cotton pad and saturate it with the lash remover. Carefully place it on your closed eyelid above the lashes. You might want to hold it there for about 10-15 minutes, allowing the product to break down the adhesive. It’s like marinating your favorite dish; let the remover do its job!
Check and Gently Remove Lashes
After the waiting period, it’s time to check if the extensions are ready to come off. Gently pull the extensions starting from the outer corners and moving inward. If they come off easily, great! If not, apply a little more remover and wait a few more minutes. Remember, patience is key. Rushing can lead to damage.
Clean Up the Stragglers
Once most lashes are off, you may find some stubborn ones left behind. Dampen a Q-tip with the lash remover and carefully approach these stragglers. It’s like picking up the last crumbs off your plate – delicate but necessary.
Final Cleansing
After all extensions are gone, cleanse your eyelids again. This step ensures no leftover remover sits on your skin. Follow up with a gentle toner if you have one. Your skin will thank you!
Nourish Your Natural Lashes
Once you’ve removed those extensions, it’s a good idea to nurture your natural lashes. Consider using a castor oil or a lash serum to keep them healthy and strong. This is like giving your lashes a spa day after a long stretch of work!
When to Seek Professional Help
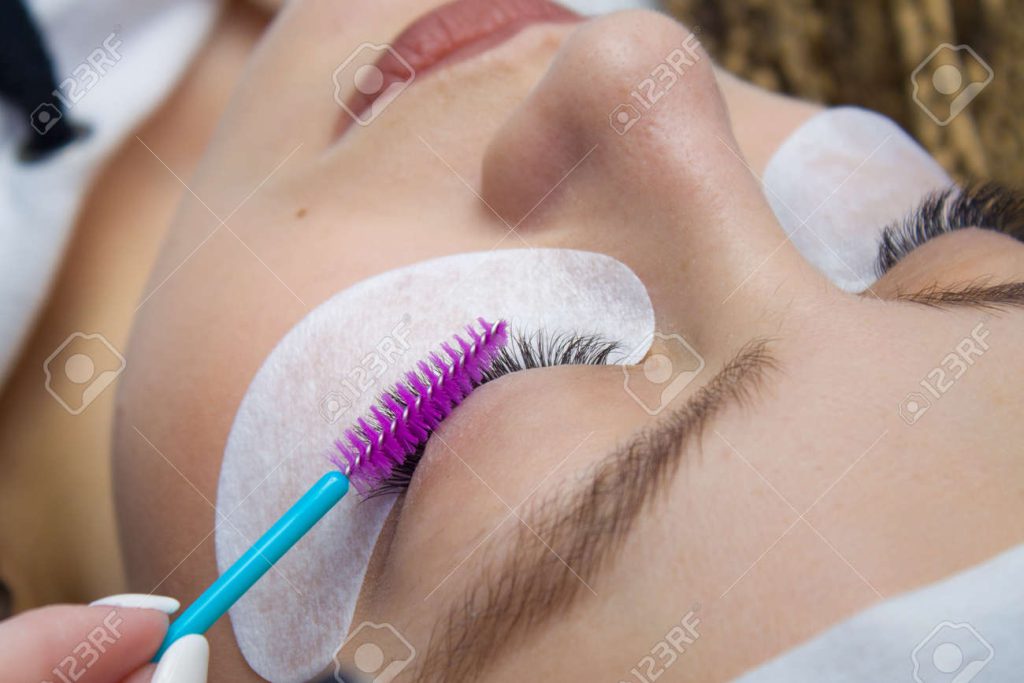
If you’re feeling unsure or the removal process isn’t going smoothly, don’t hesitate to reach out to a professional. They have experience and the right tools to help, ensuring your lashes remain safe.
Conclusion: Embrace the Change
Removing lash extensions can feel like a breath of fresh air. Your natural lashes are beautiful in their own right, and with a little love and care, they’ll bounce back in no time. Enjoy your lash-free look or get ready for your next set. The choice is yours!


